Step 1: Check the calendar to see what's going on.
To make your experience easier, click the filter dropdown menu in the top left and select your Business Unit filter. Also switch to the calendar view, next to the filter button.
Step 2: Pick your campaign structure and template(s)

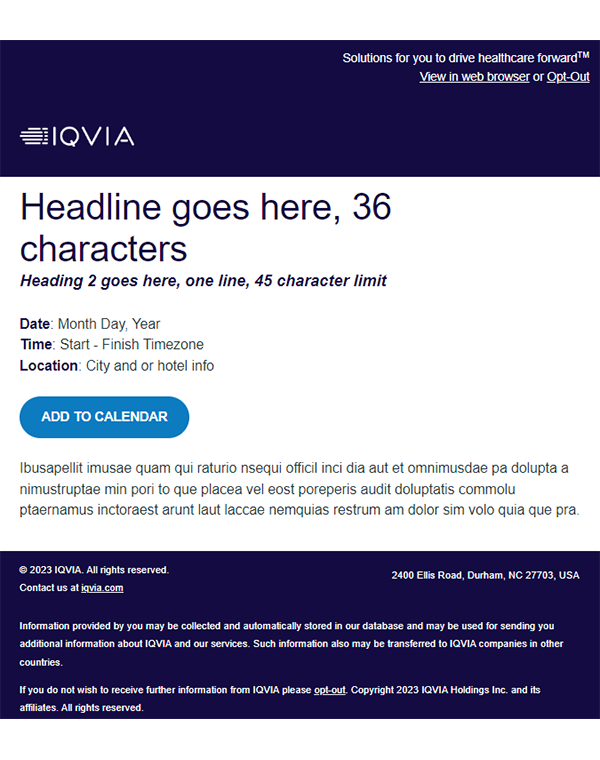
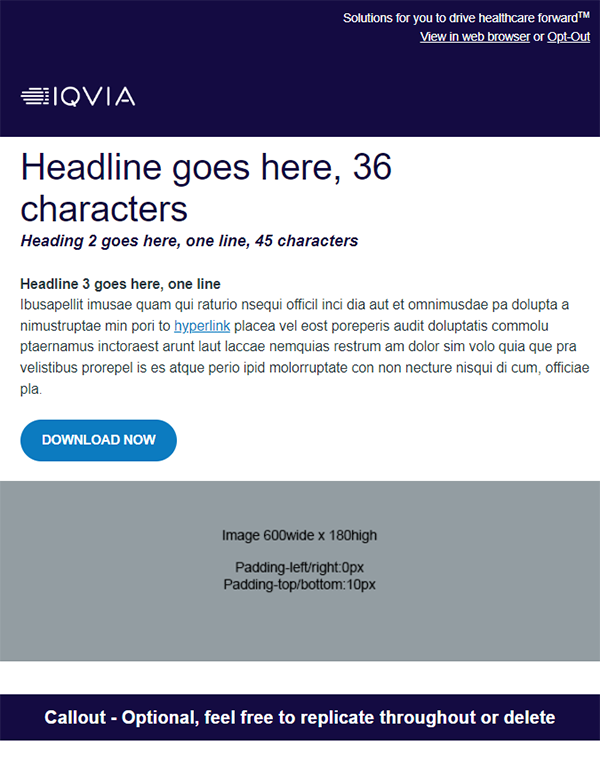
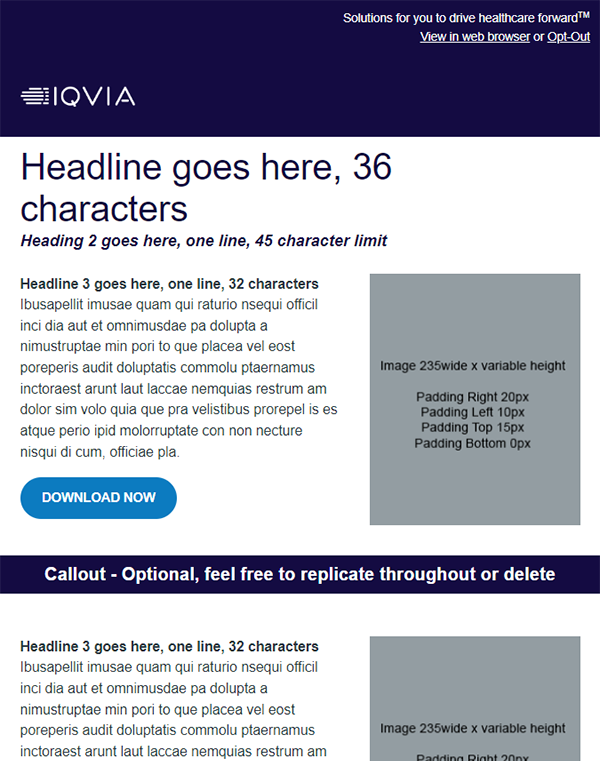
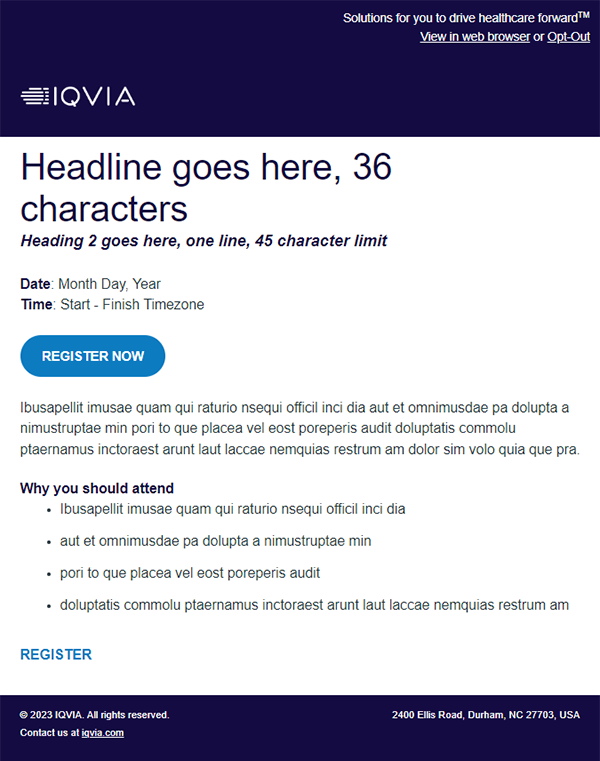
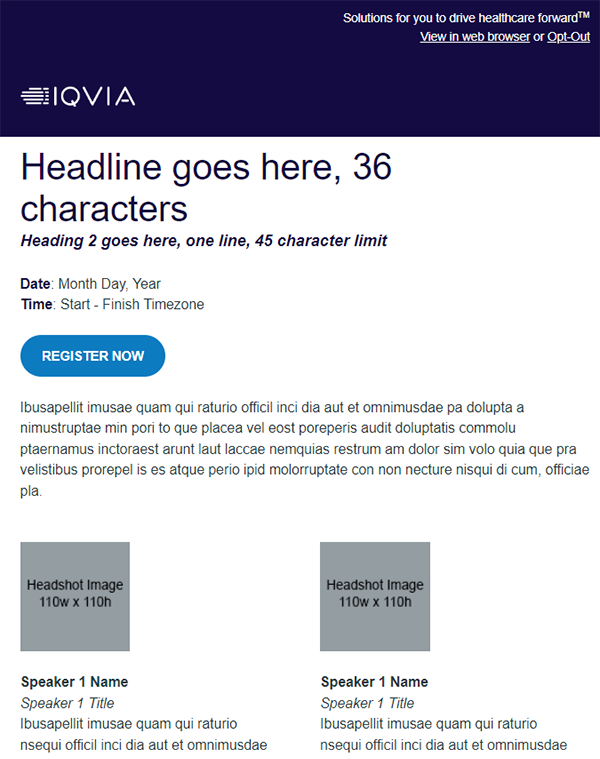
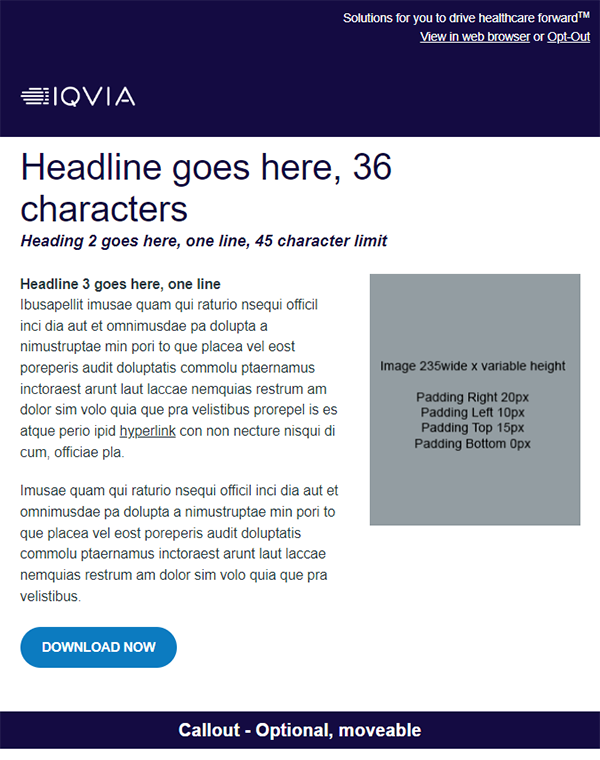
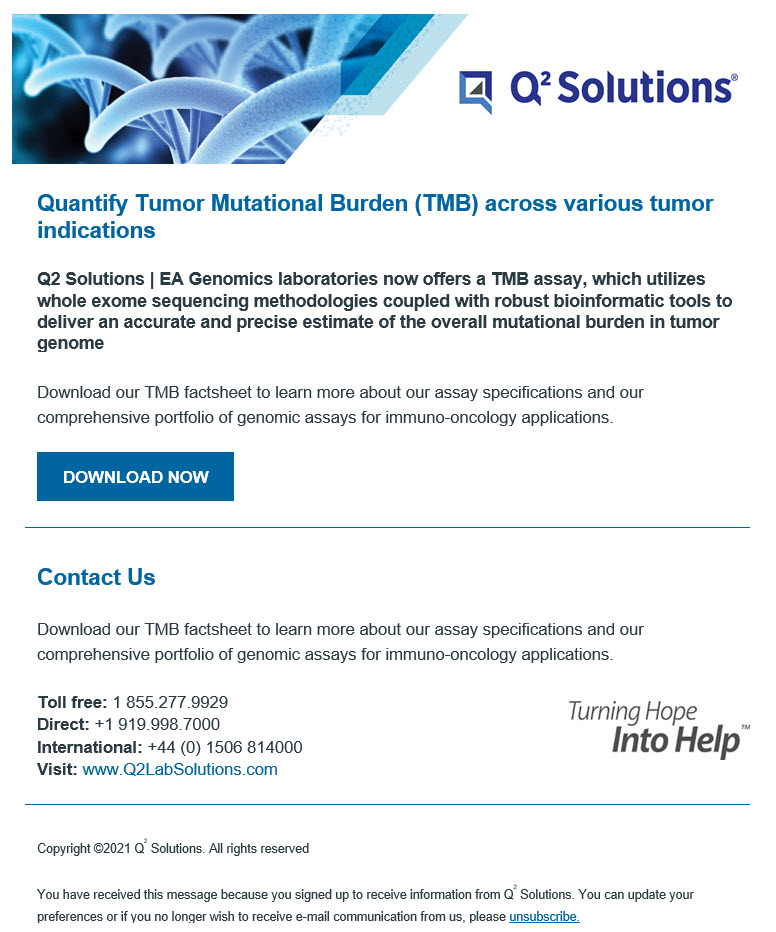
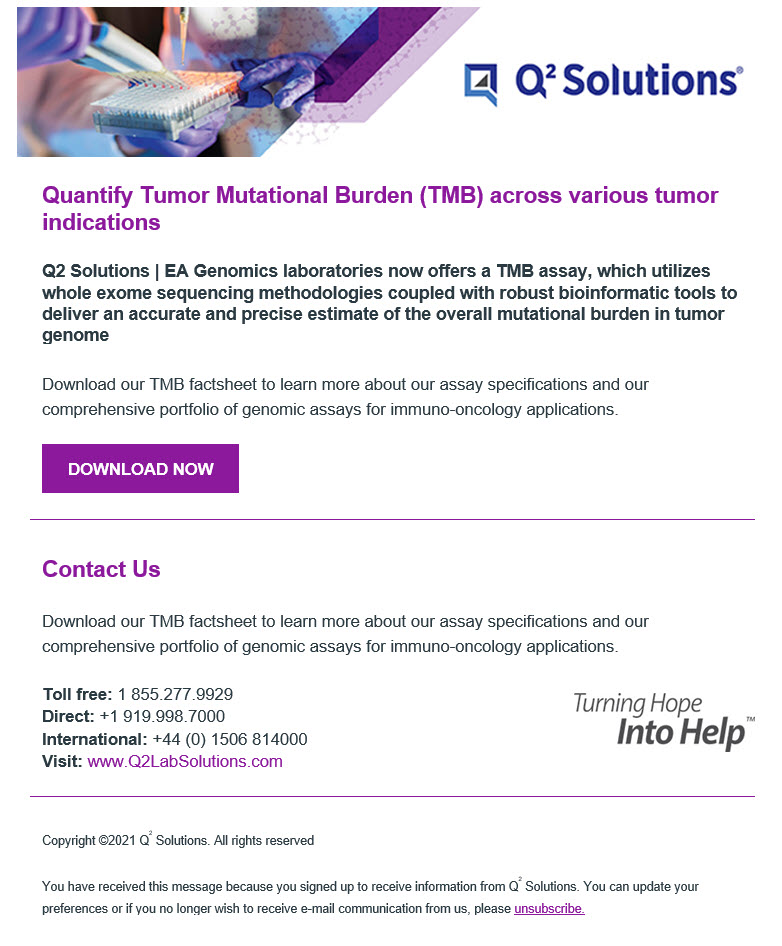
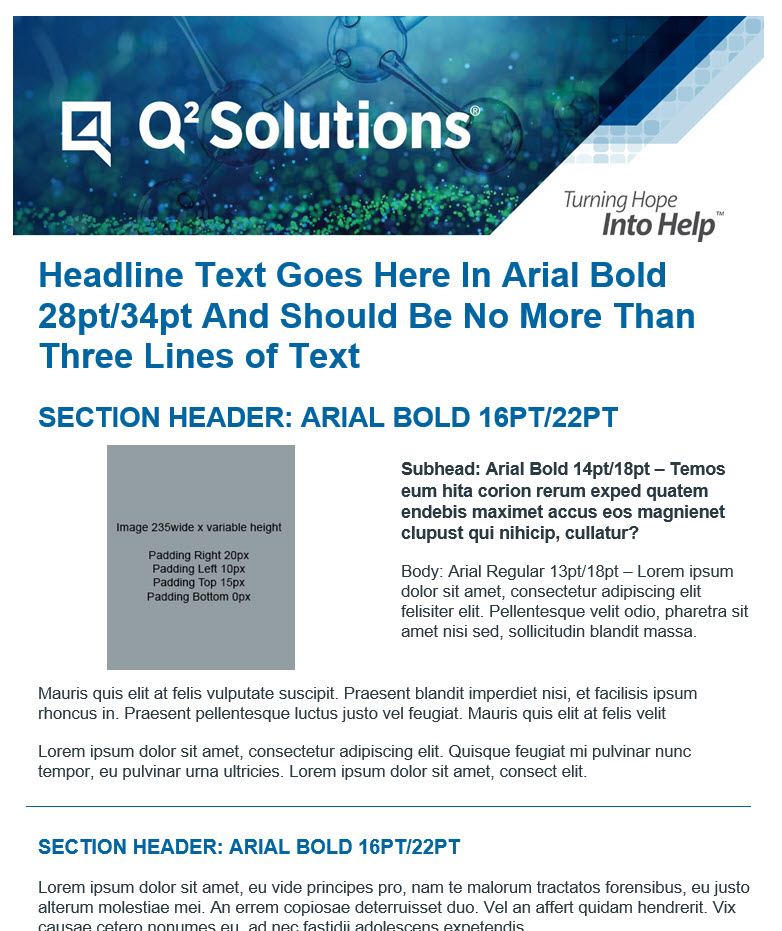
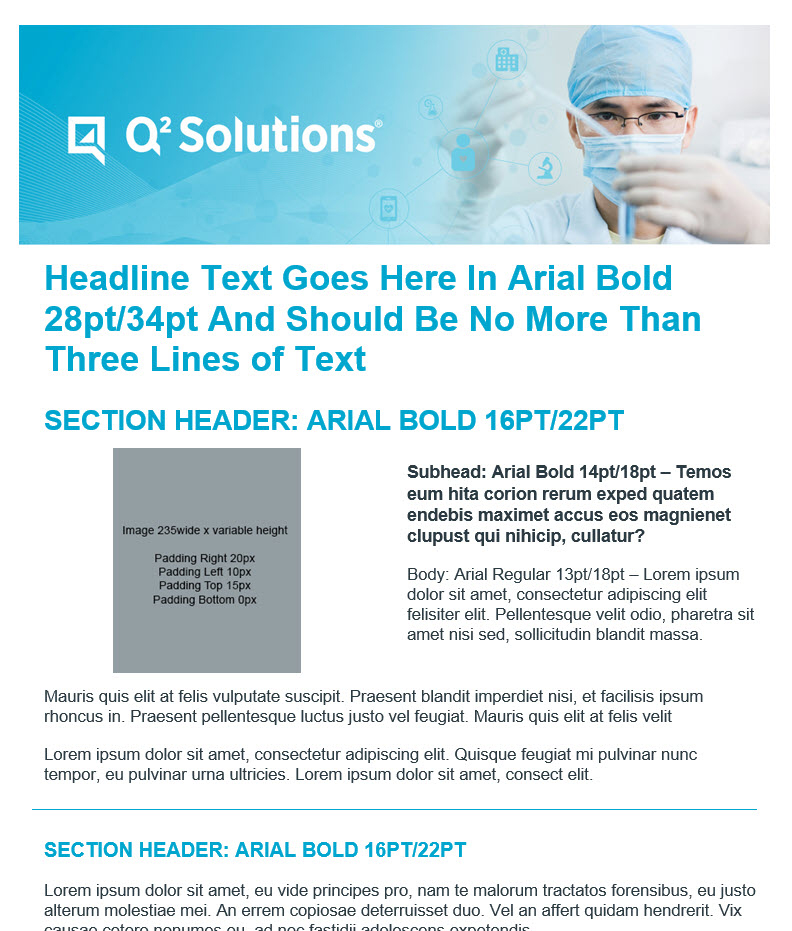
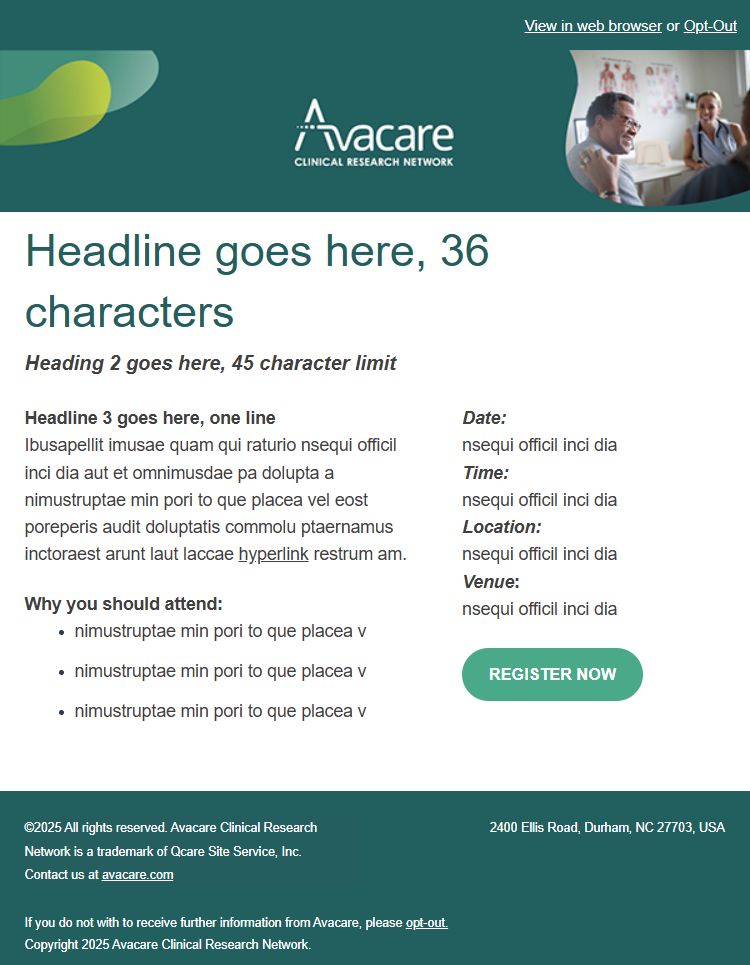
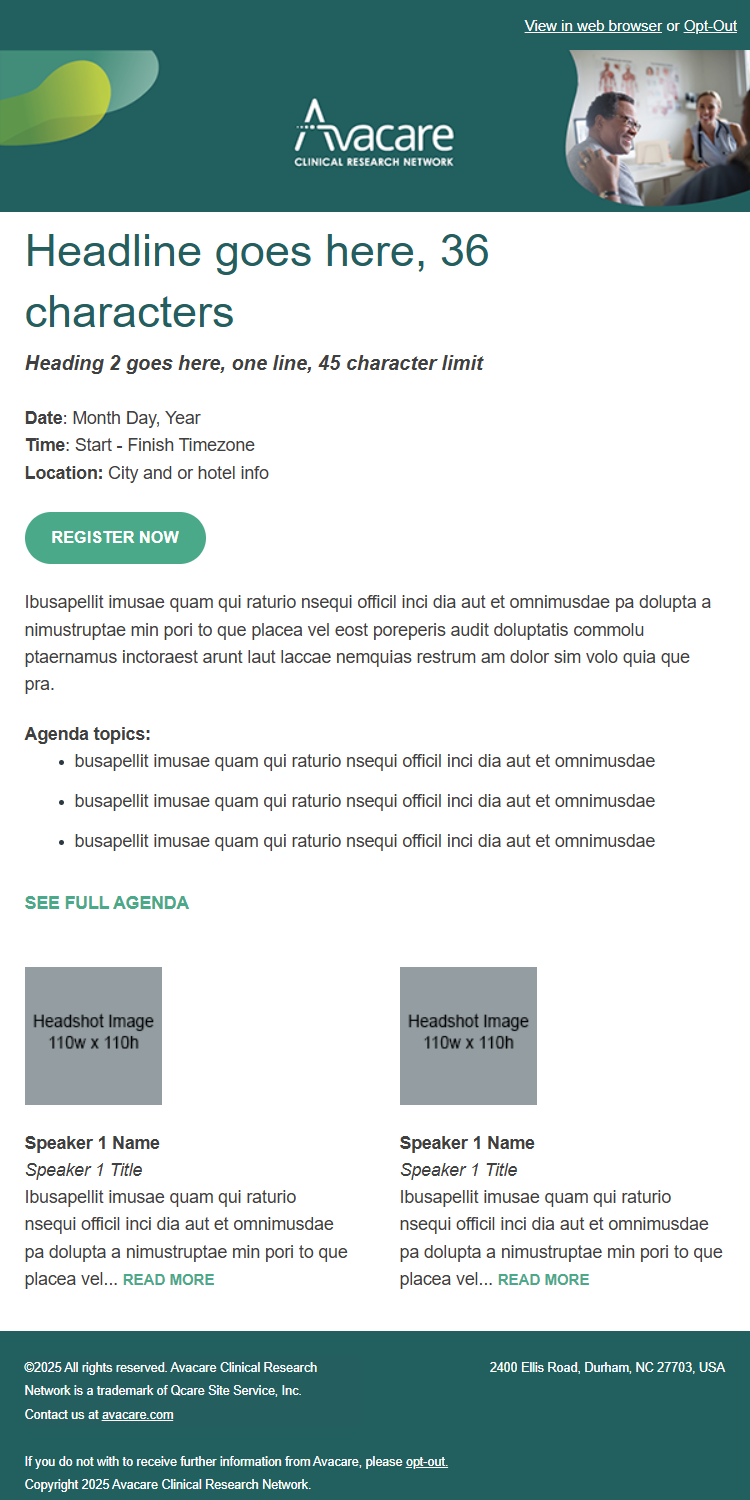
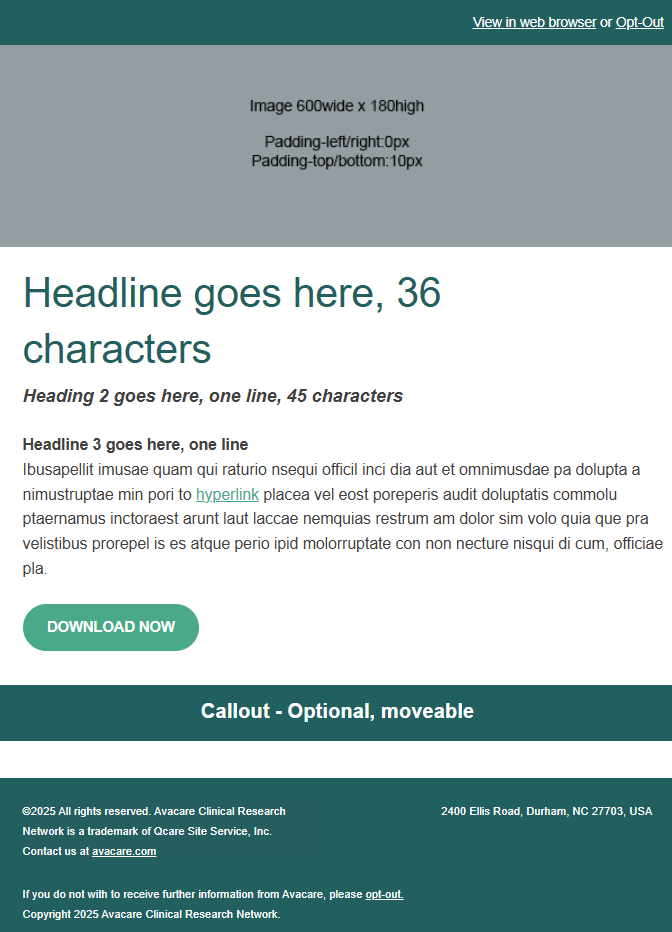
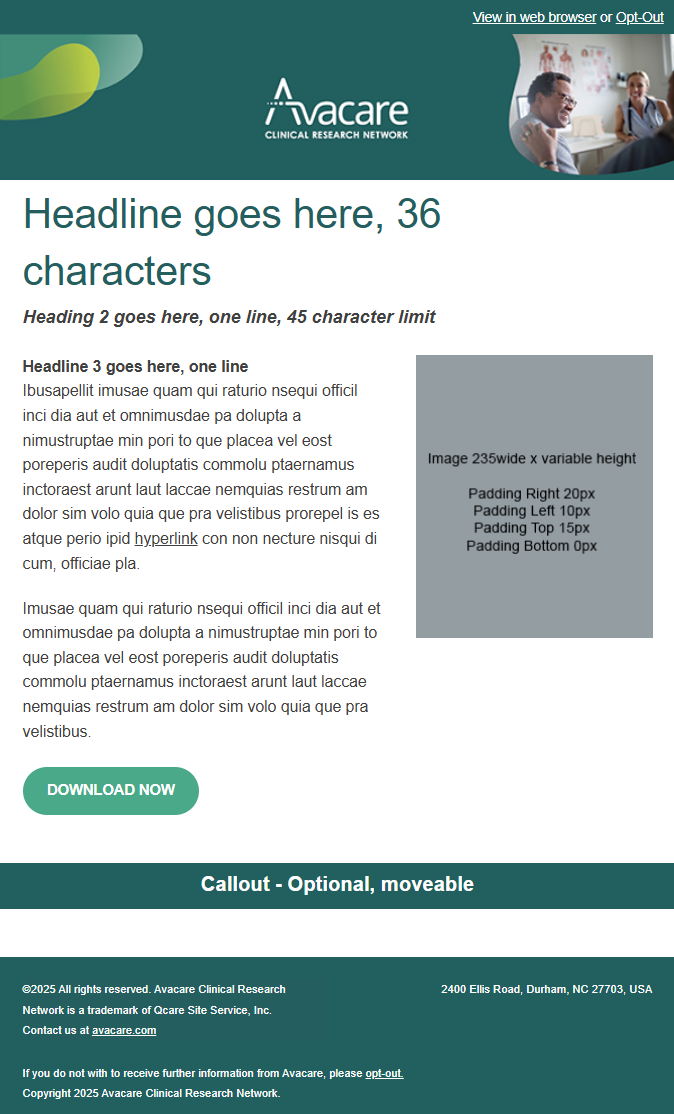
Indigo
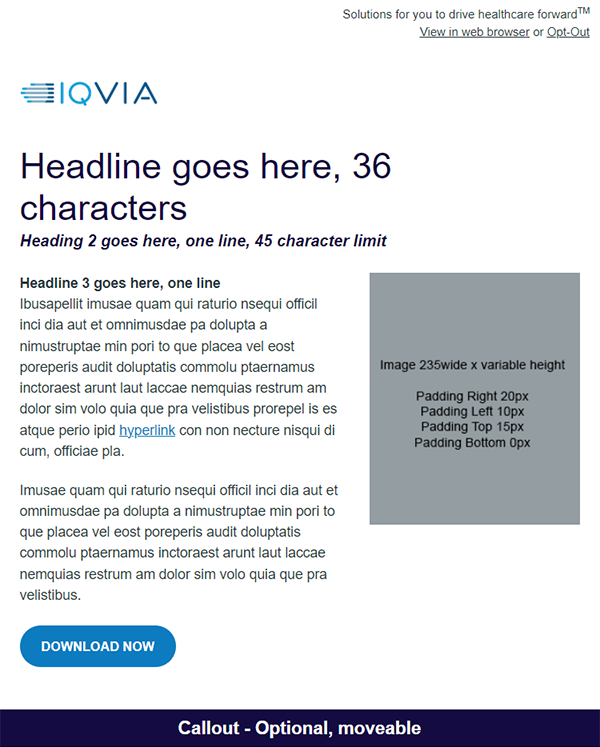
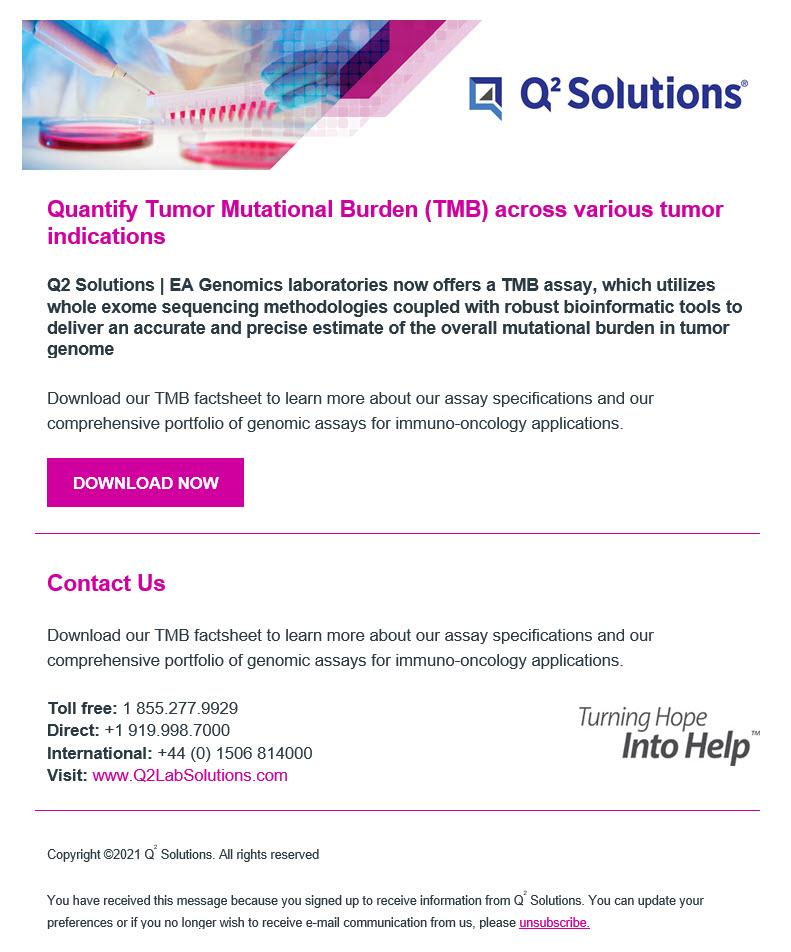
White
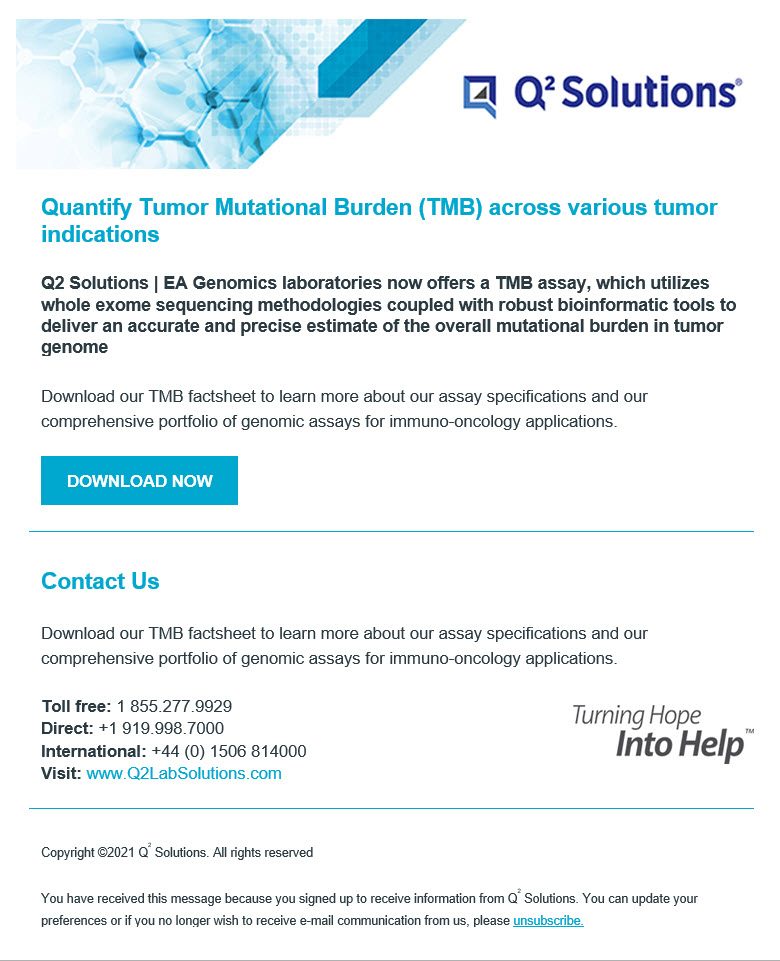
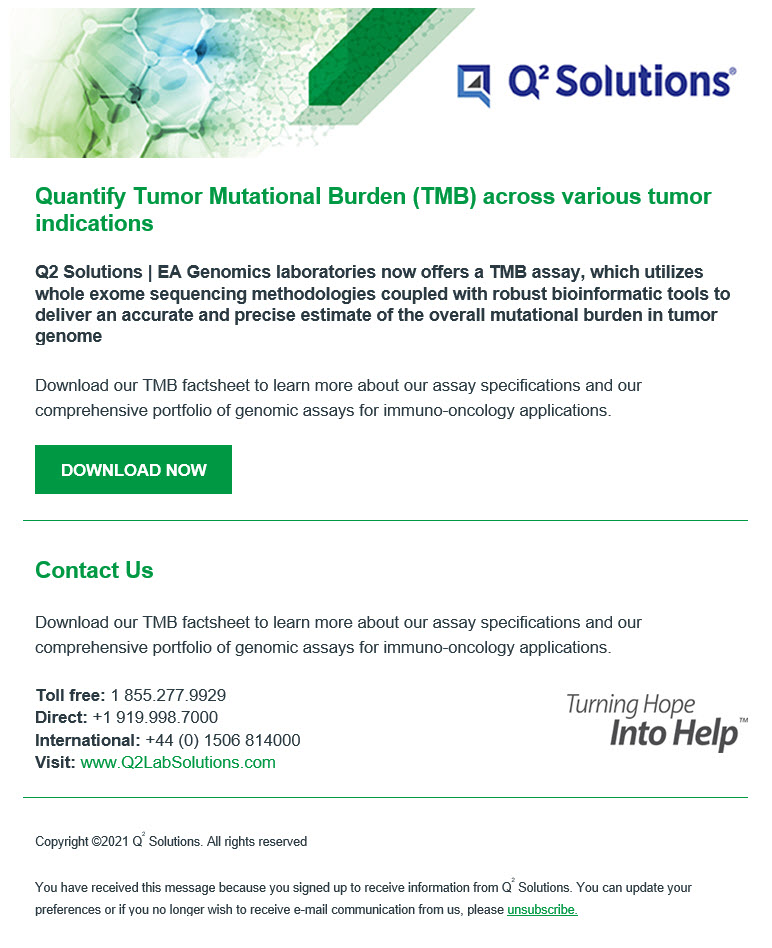
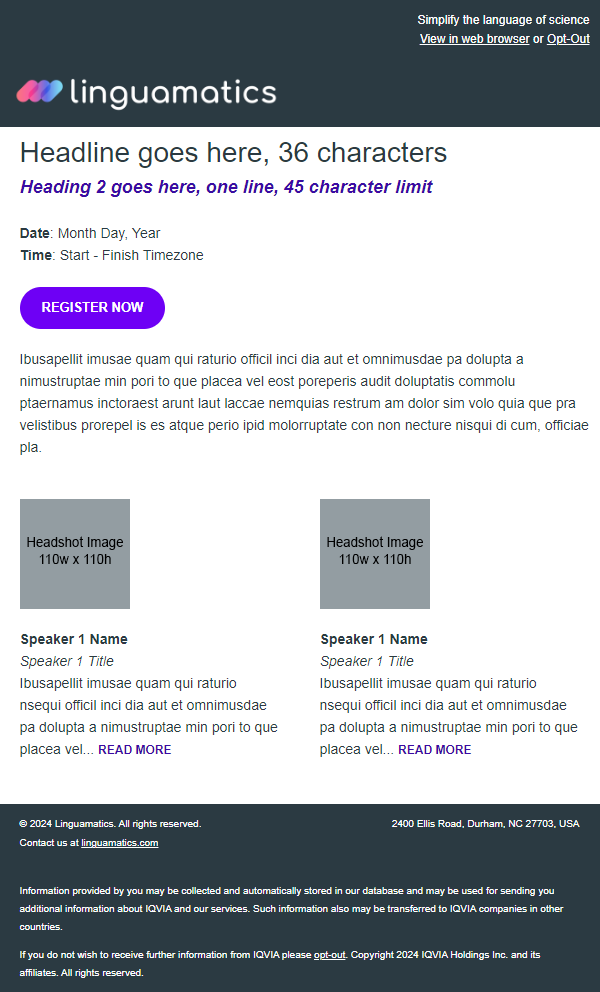
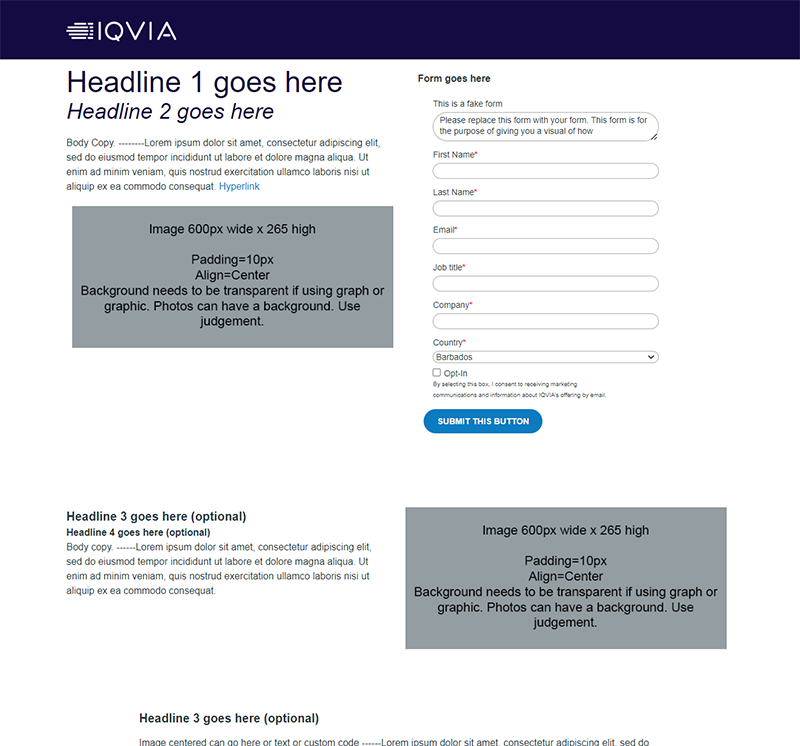
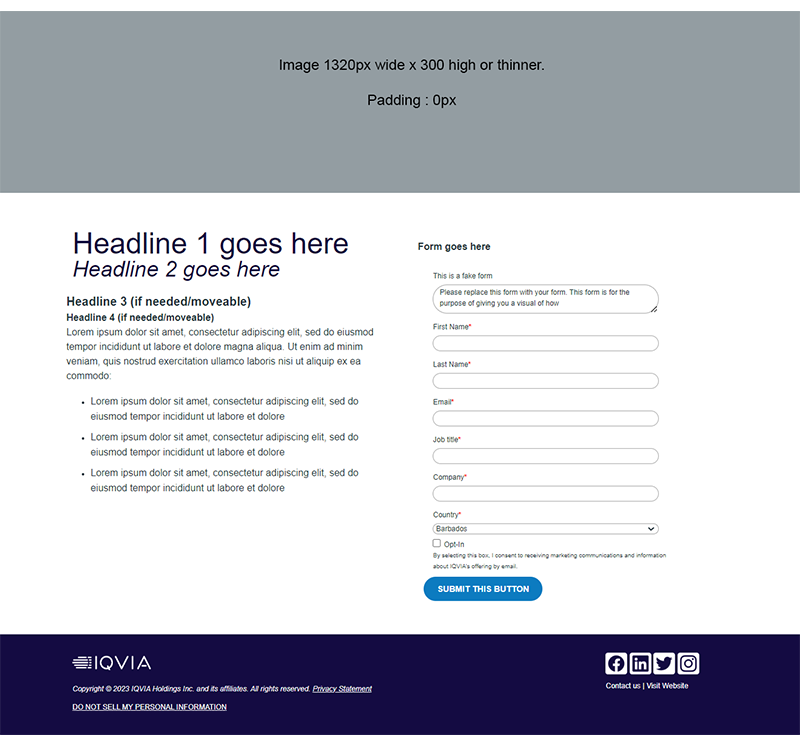
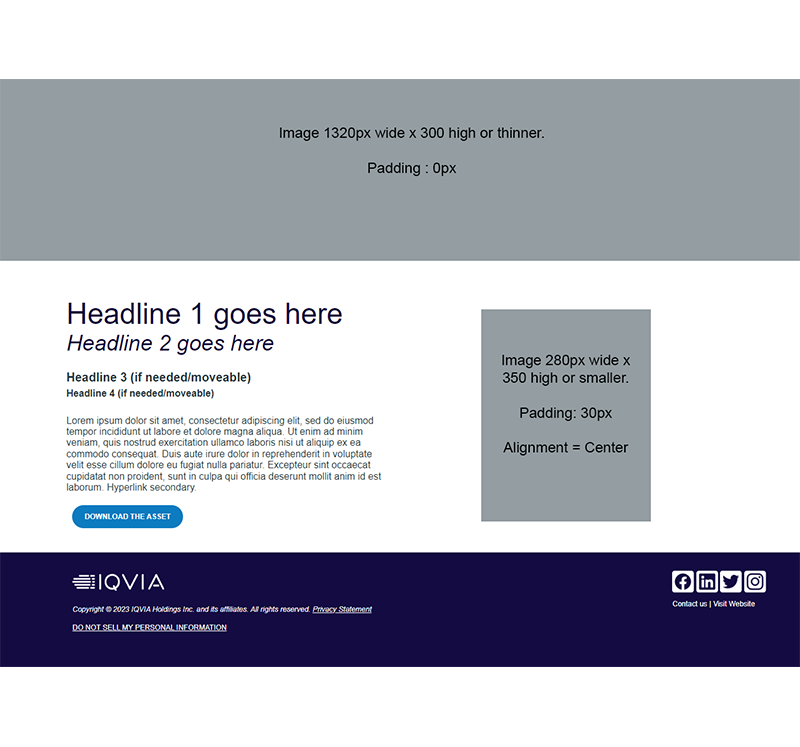
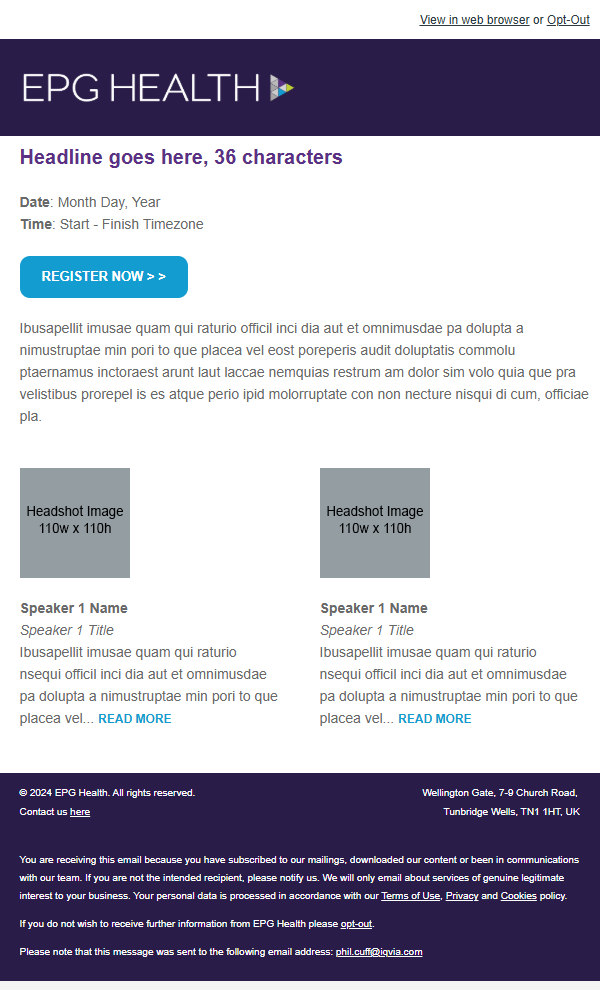
Uses the same Templates with a minor change to the logo. These are the logo options:


Step 3: Find a Target Audience (Bullseye)
See the IQVIA Segmentation Tool for the bullseye segments and the criteria that makes up each segment that we have on file.
Need a new bullseye created? First, see if you can use one of the bullseyes or personas as a base for your build. Also please review the below before requesting a new bullseye and check if a re-usable segment would meet your needs:
 Standard Segment
- Broad category of customers
- One time segment or reuse segment
 Personas Segment
- Detailed representation of a hypothetical customer that is created using market research, customer data and other resources.
- Has a name and backstory
- Created by Charlie
 Bullseye Market
- More specific category of customers
- Must be reused
- Planned to be used > 5 times this year in 5 different campaigns
- Actively refines bullseye based off performance
- Will be templatized
- Will be added to the coverage report
- Will be added to intake form drop down
- Will be added Bullseye Segment Membership field and program
Need a new bullseye created? First, see if you can use one of the bullseyes or personas as a base for your build. Also please review the below before requesting a new bullseye and check if a re-usable segment would meet your needs.
Need to find out how many contacts make up a bullseye segment?
View our Coverage Report >>
Step 4: Create your own header or add additional images (optional)
Try the Email Banner Generator or Landing Page Banner Generator tools to create your own automatically approved banner images for emails and landing pages. Once created, you can either upload directly to your request form, or if you've already submitted your form, add to your campaign on the outreach calendar.
To add additional thumbnails or images to your email, visit the Image libraries, find the image(s) that you'd like to add to your outreach and add the 4 digit image ID to the outreach request or bundle into a .zip file and upload in the file upload area of the form.